If I learned anything during this time, is that I can wear PJs 5 out 7 days a week, and do my own nails lol. It has been more than two months since everything (non-essential) shut down in most states. And looks like NY is nowhere near re-opening. Last month, I shared how I do DYI dip powder manicure at home. The videos are saved on my instagram highlights, but I wanted to share it here as well, so you can Pin this post for future reference.
I typically get my nails done every 3 weeks. I used to do my own nails at home but I fell in love with the dip powder manicure because it lasts for weeks and keeps my nails from breaking.
DYI Dip Powder Manicure
I found all the tools I needed on Amazon, and I followed the same steps as my nail lady Blanca (miss you).
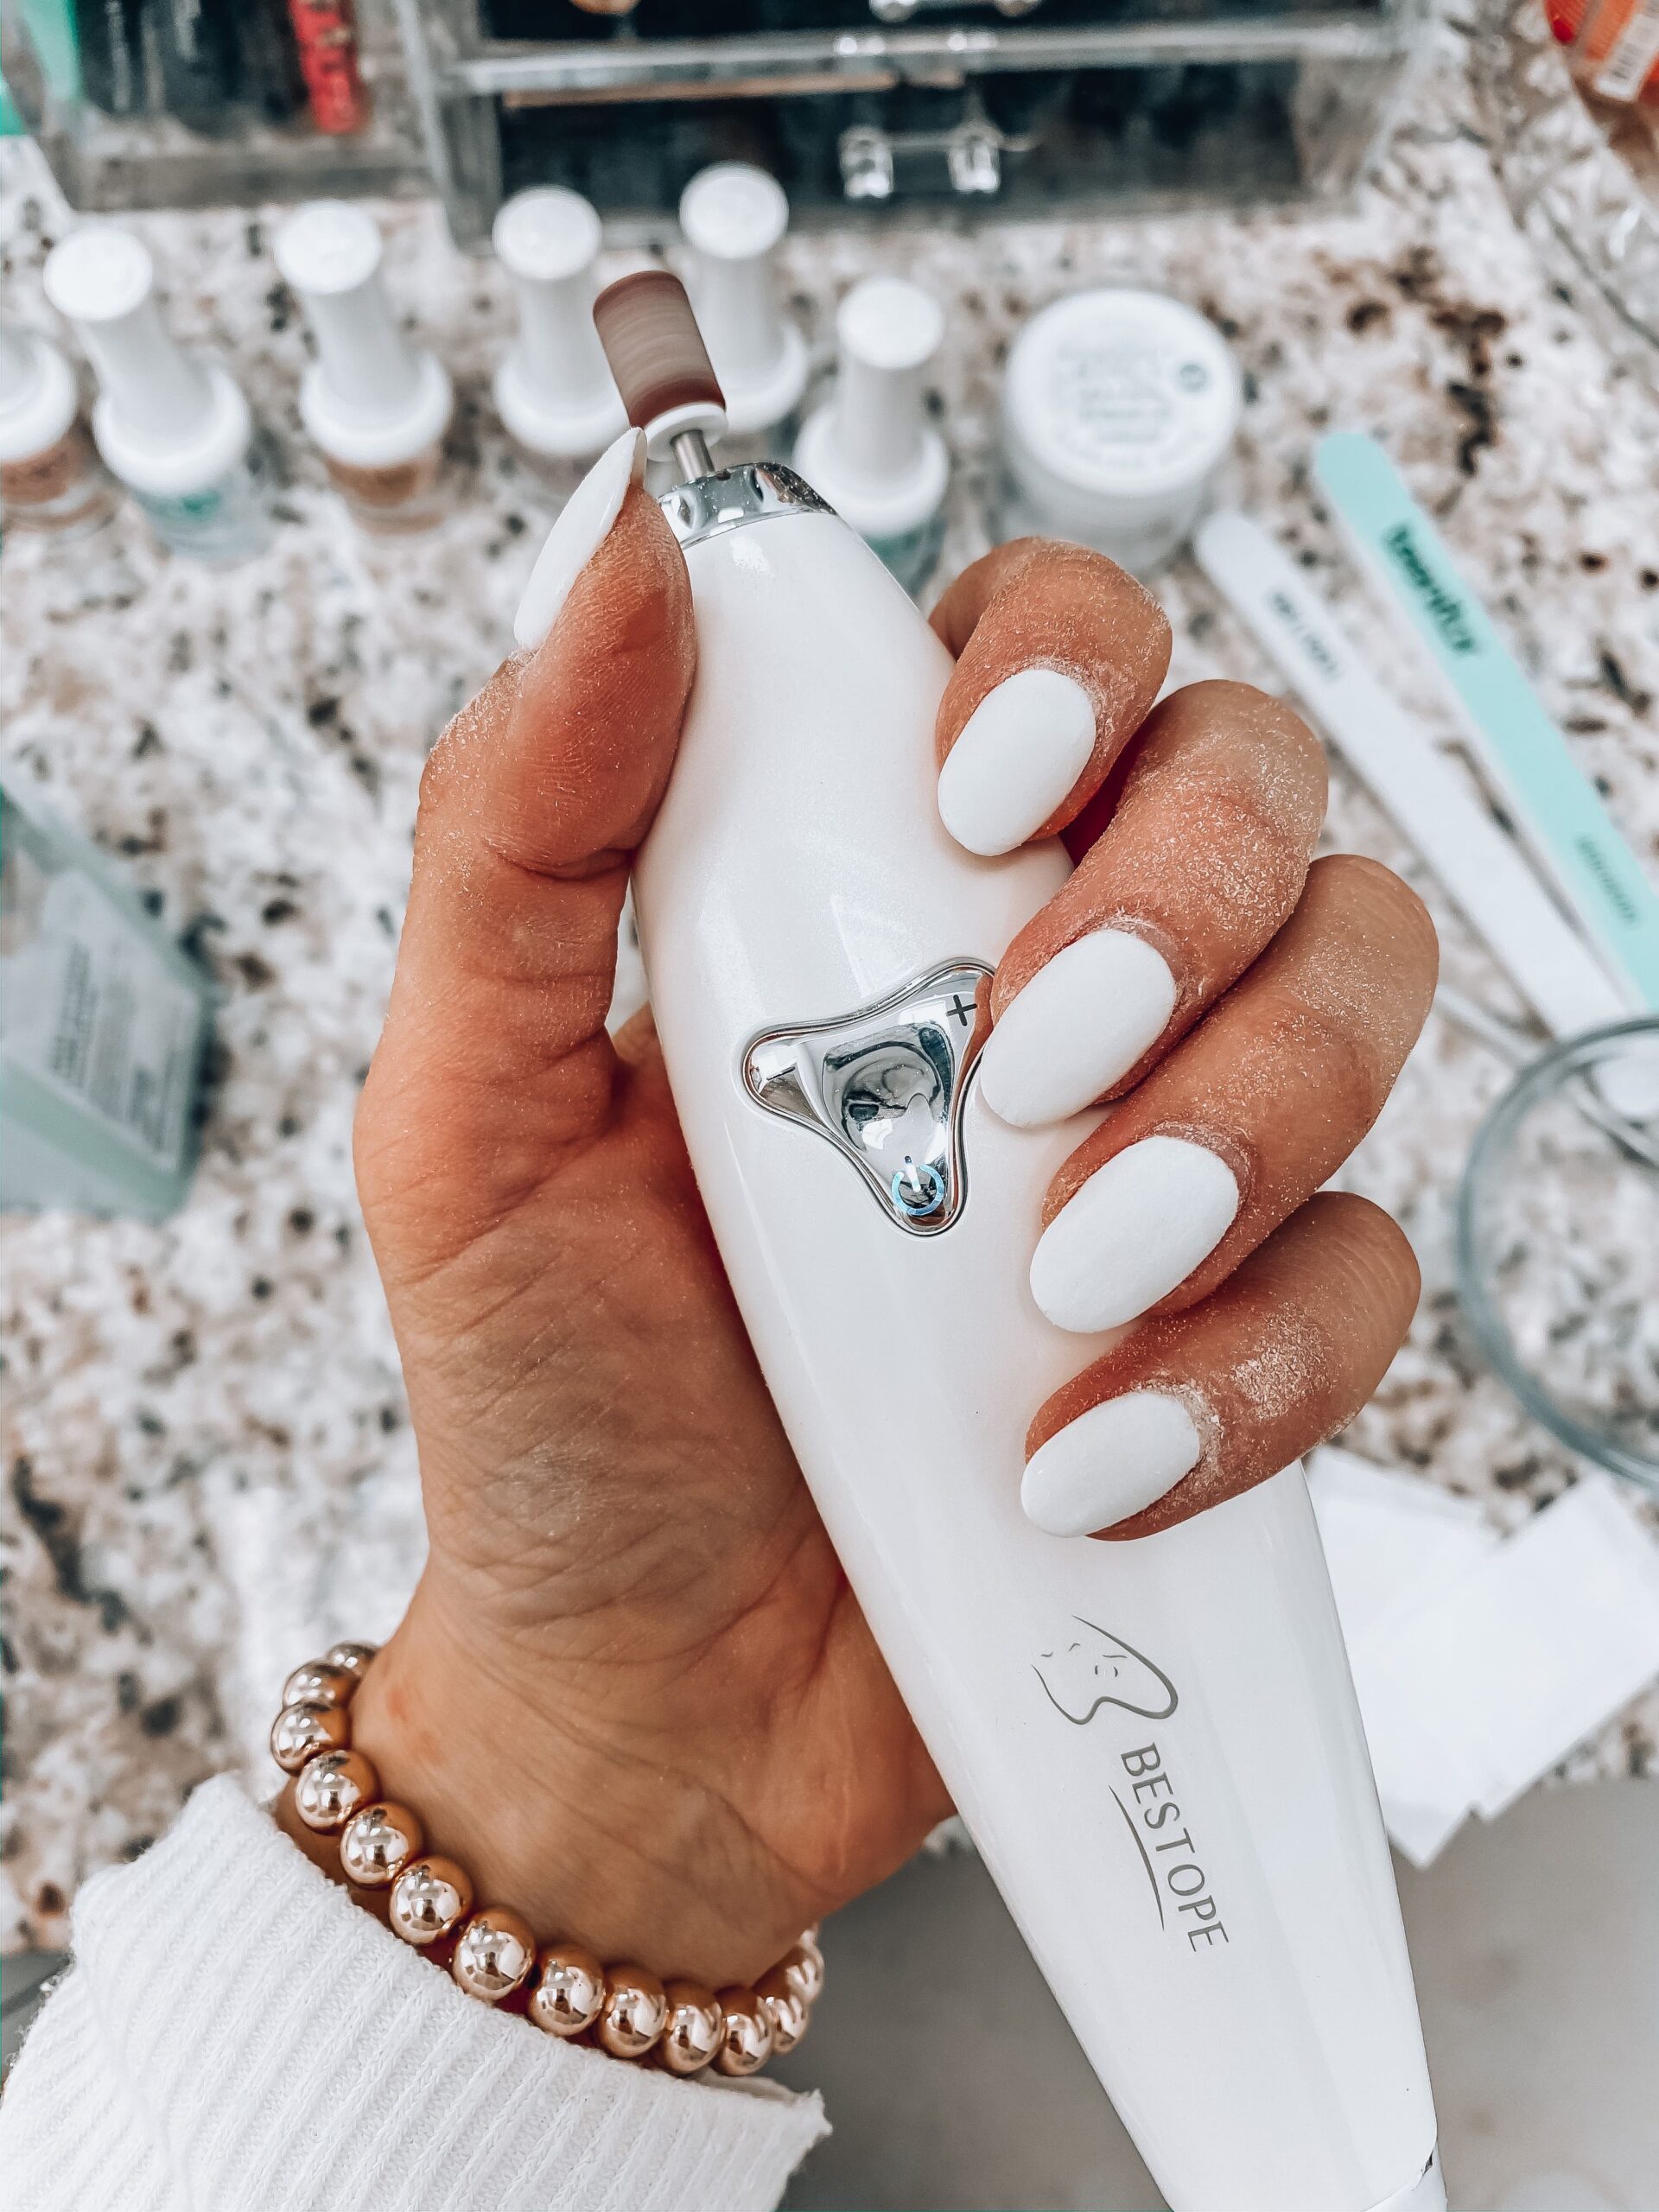
File Off The Top Coat
Buff the shiny coat with a nail file, I used an electric nail drill I ordered from Amazon The drill makes it a little bit easier, but it’s definitely not necessary. There’s so many other options available on Amazon. This step is very important, otherwise you may have a hard time removing the powder / gel polish off your nails. The more you file off, the faster the removal process will be.
 Soak Off the Powder / Gel
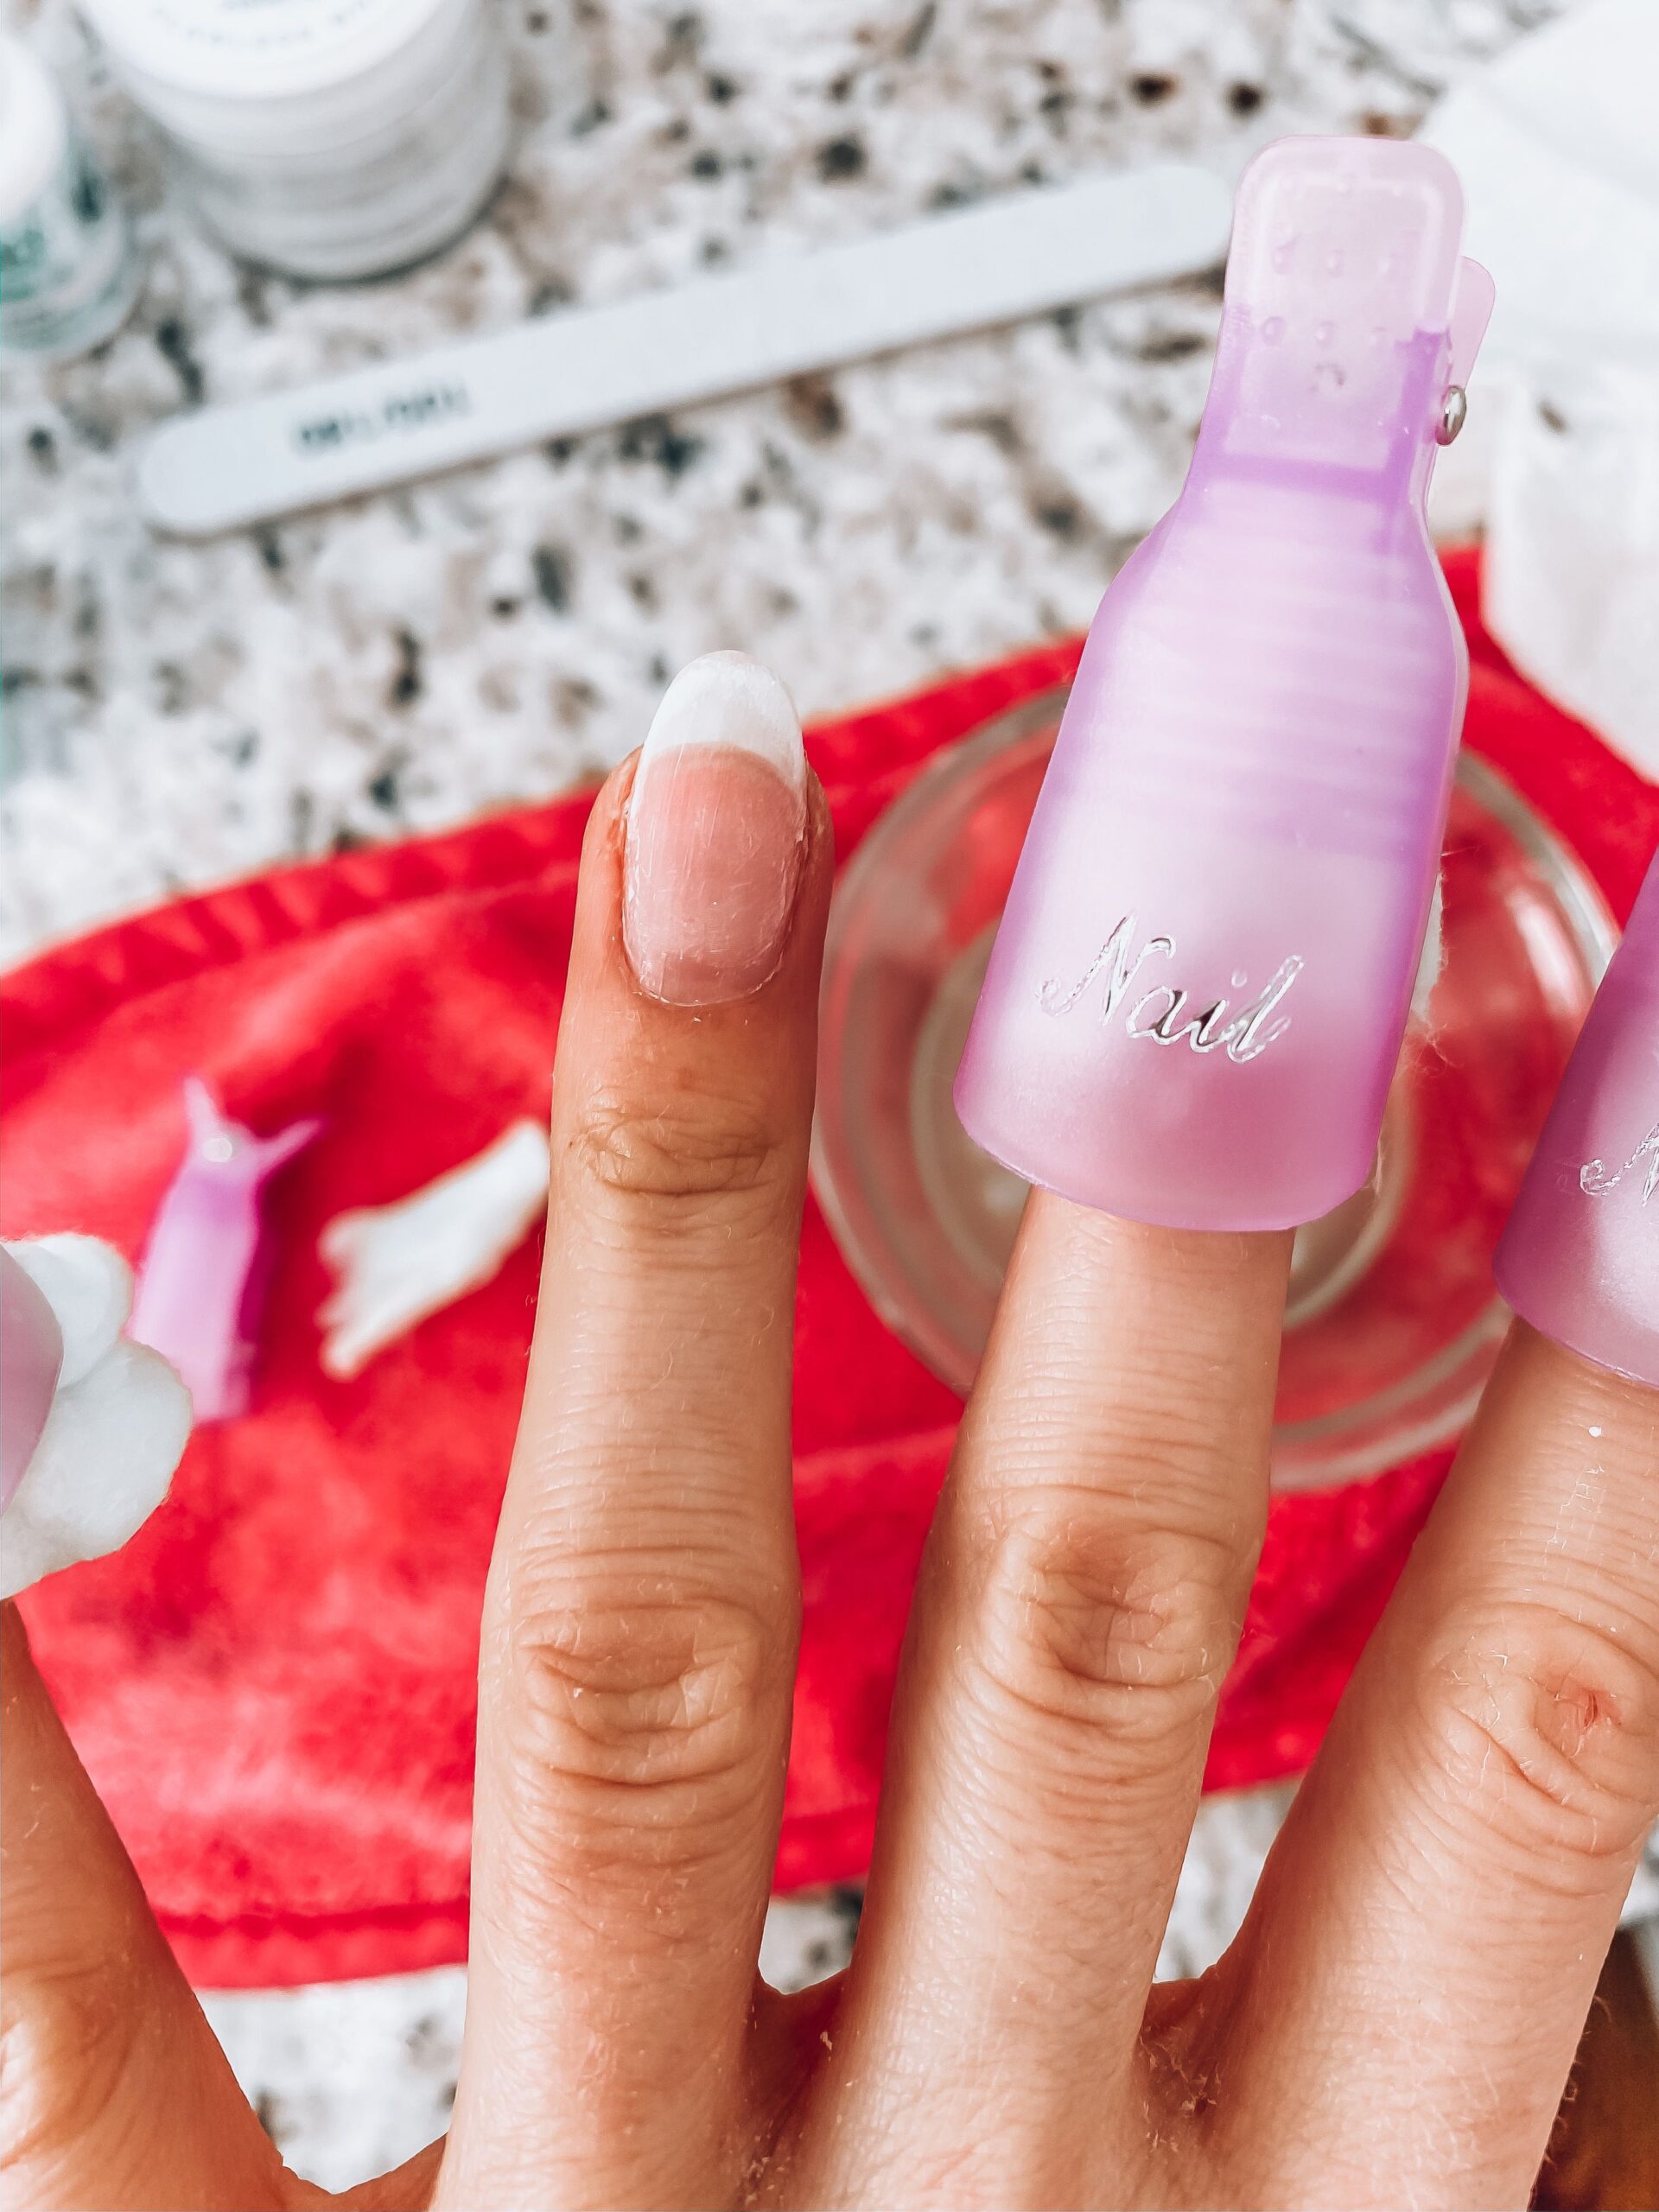
Time to soak off your polish! I bought the clips from Amazon, these are also not necessary you can use aluminum foil from your kitchen drawer. For gel or dip you have to use pure acetone nail polish remover
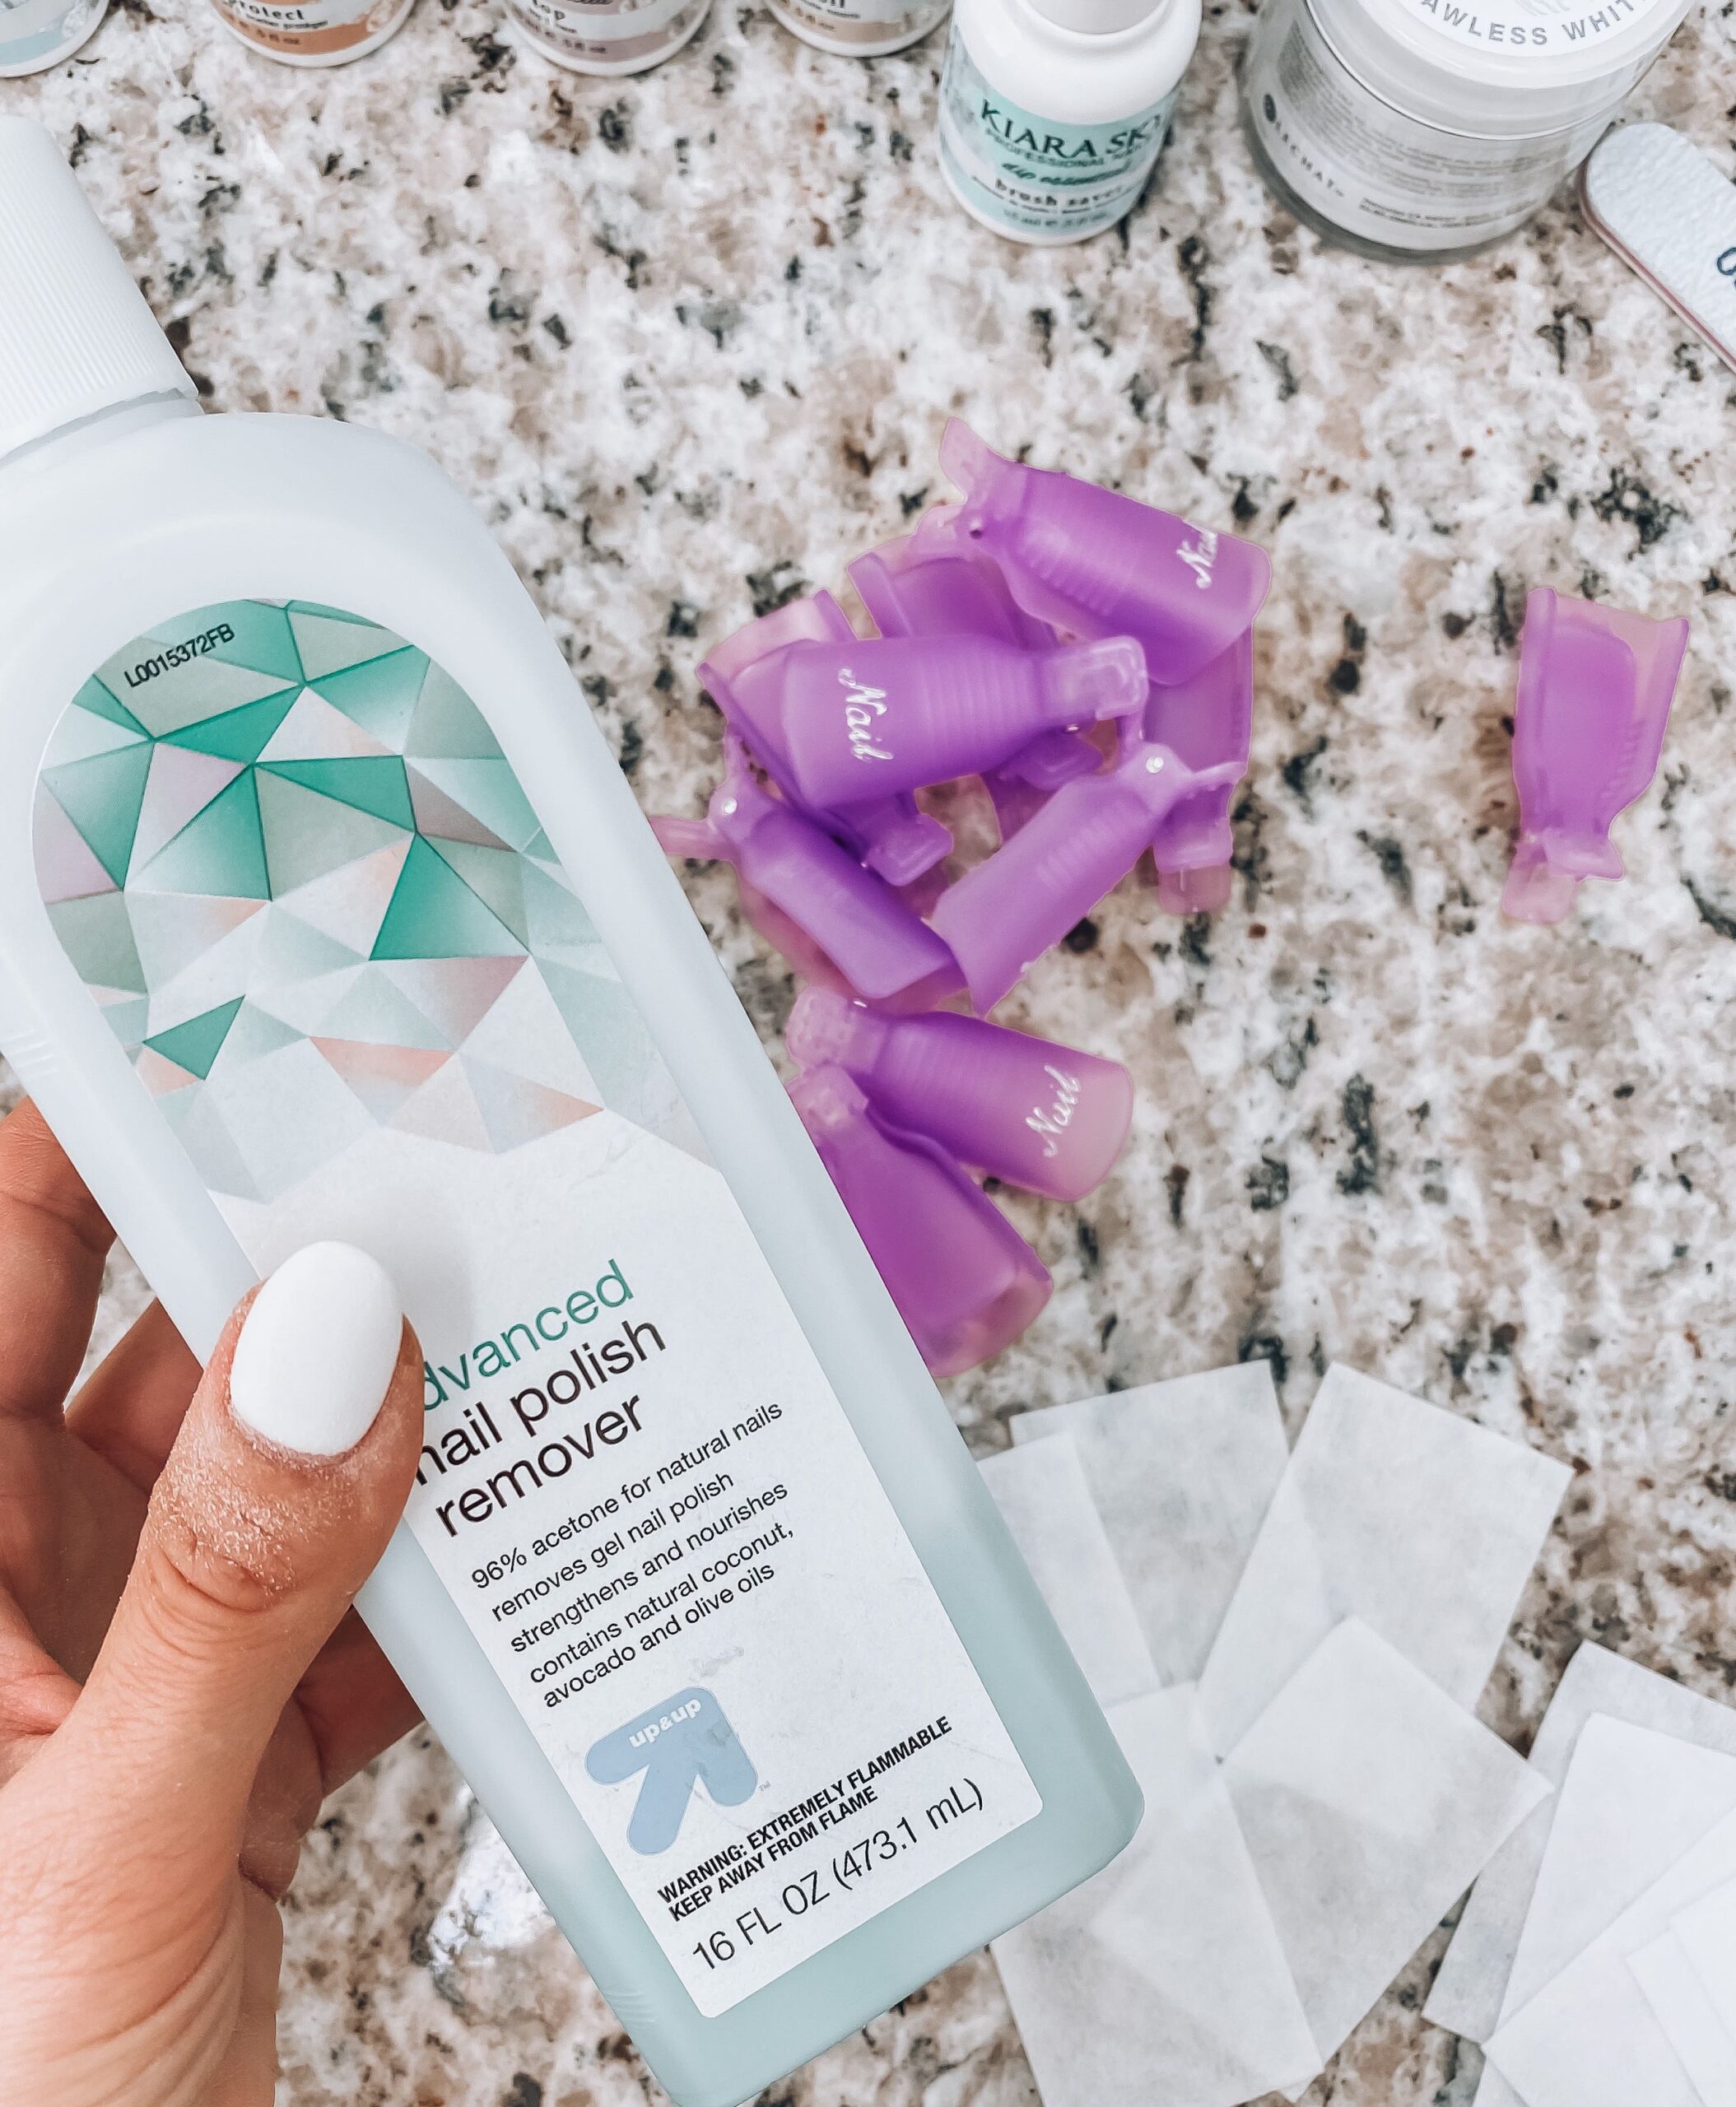
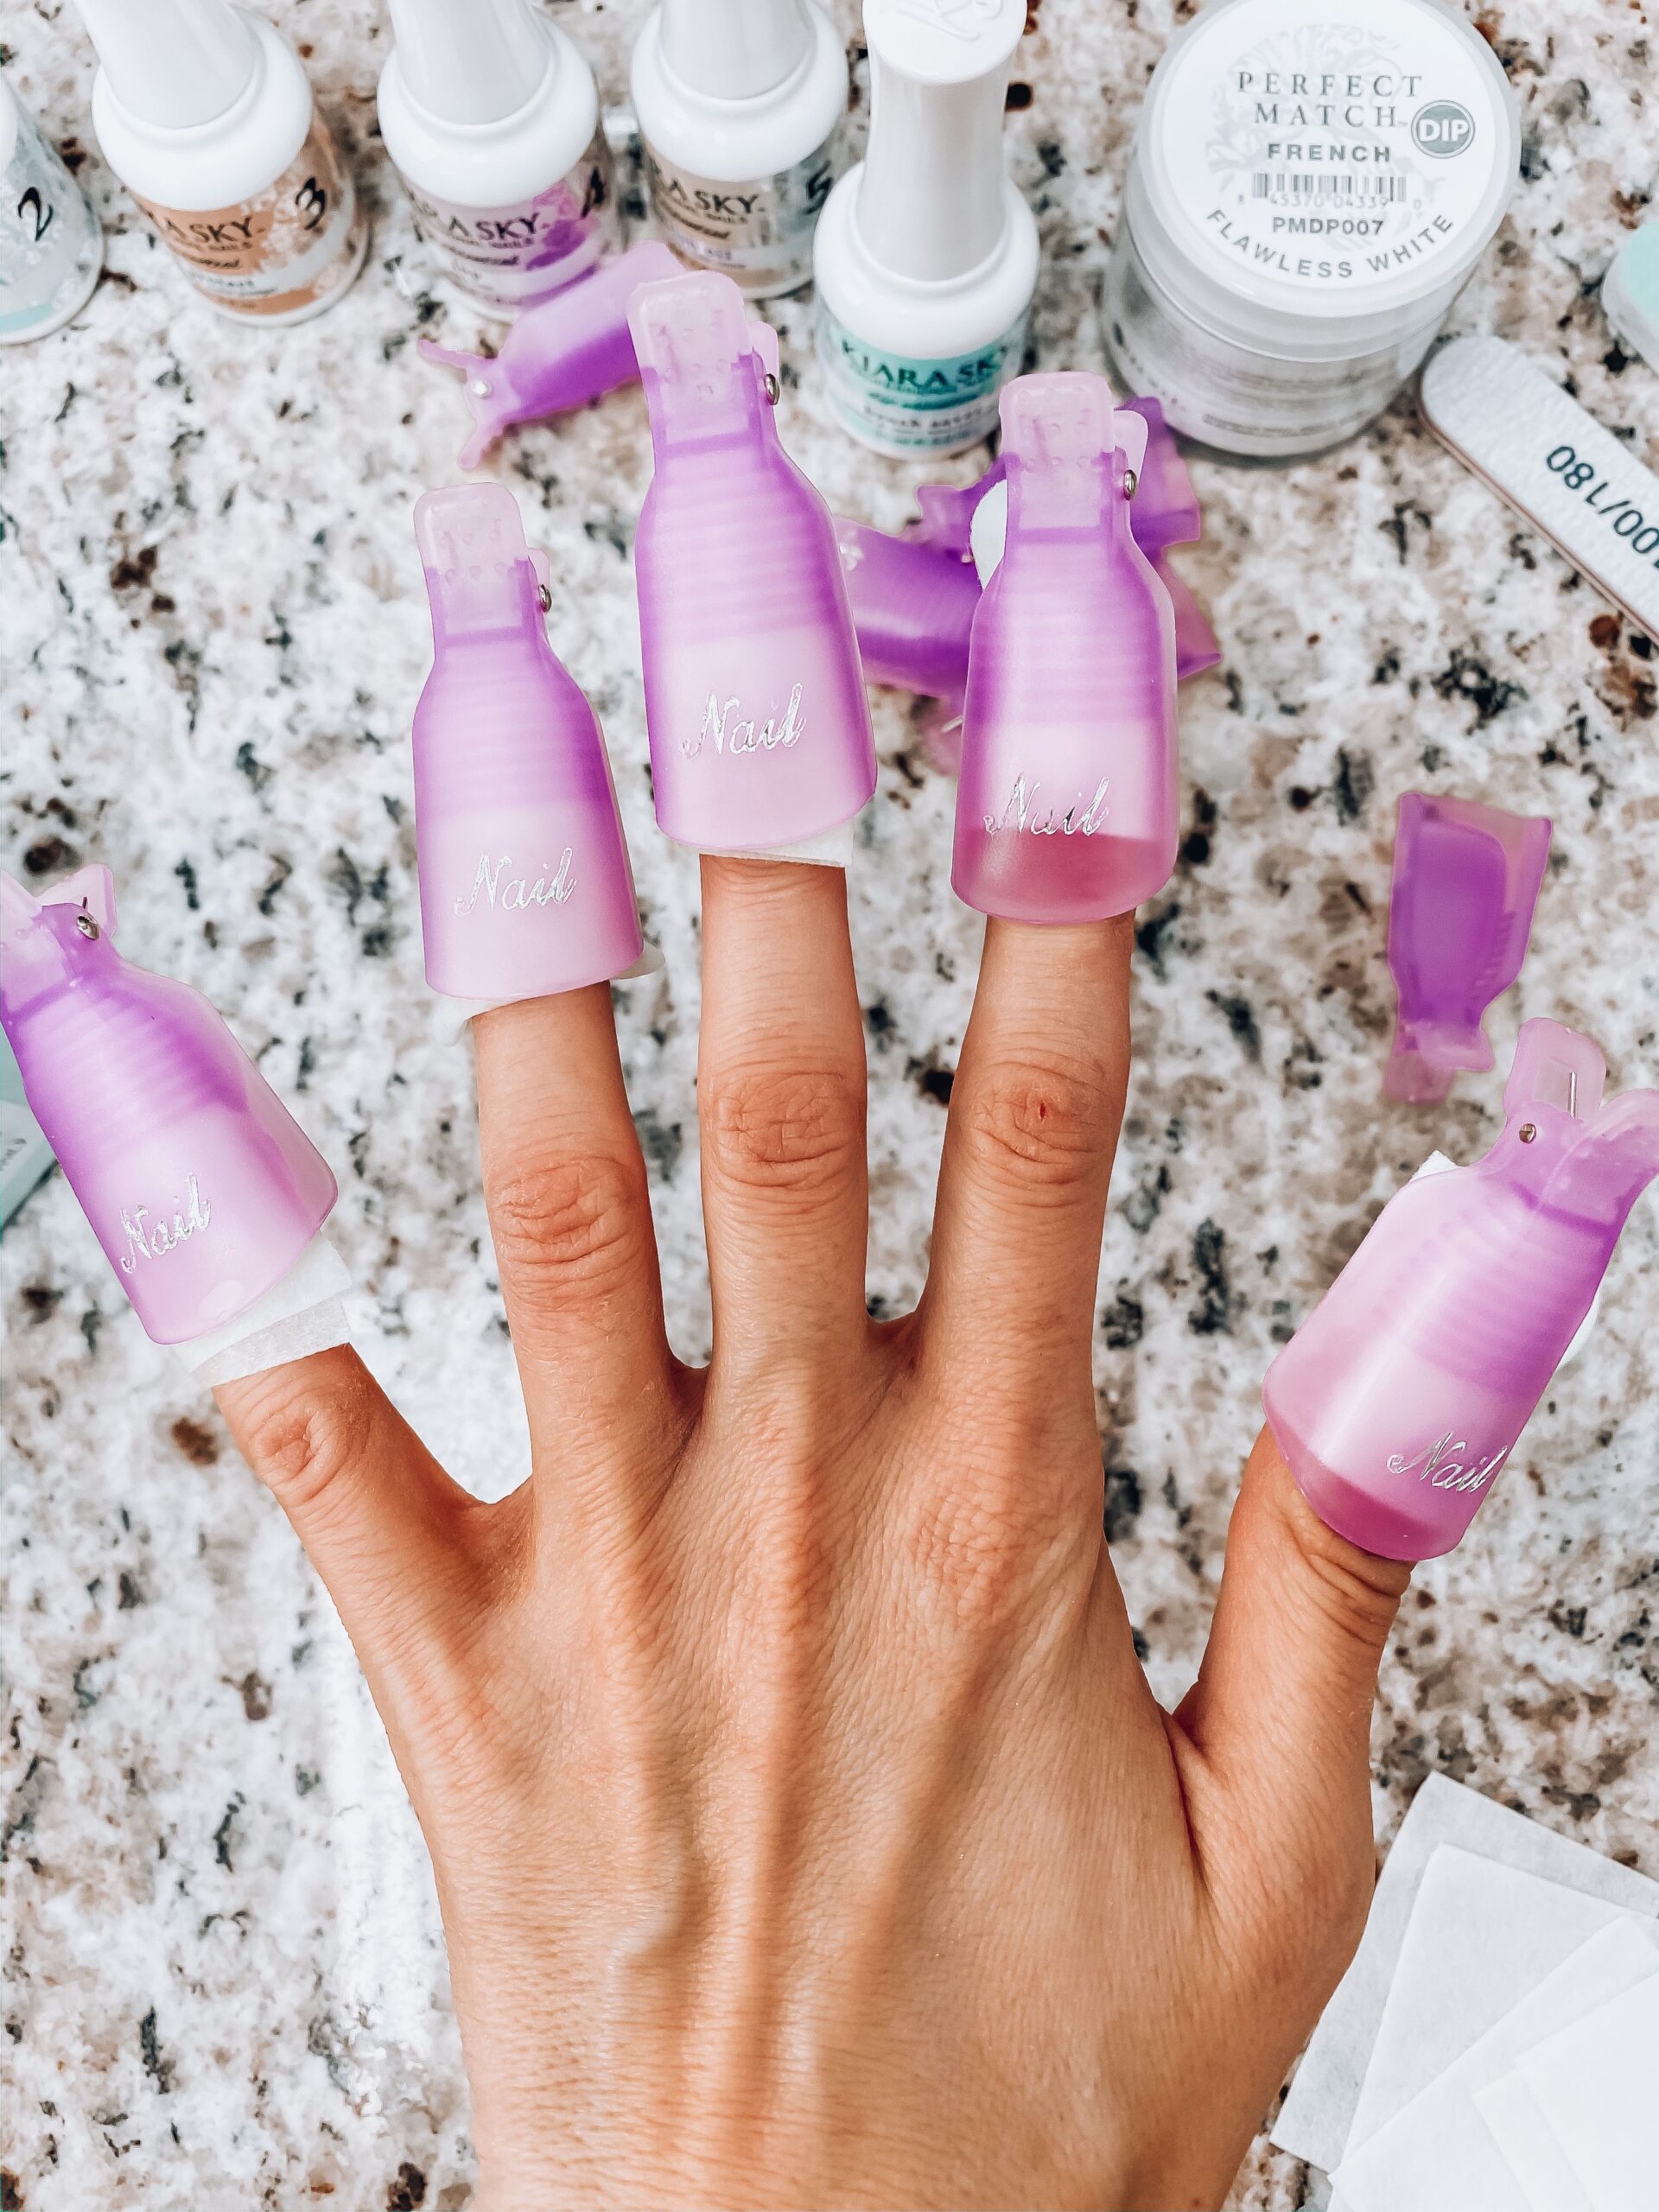
TIME and PATIENCE will be your best tools. It can take anywhere from 15 to 45 minutes depending on how many coats you have to really soak it off. My advice is to do one hand at the time. I frequently remove the clip to scrape off a layer of powder, and add more acetone to the cotton ball and then put the clip back on. That’s one of the advantage of having clips, versus getting new pieces of foil each time. The clip set does come with a scraping tool I used
Cut, shape and buff your nails.
The clip set also came with 2 nail files one for shaping, one for buffing. Get as close as you can to the desired shape. You will be able to even it out a bit more after applying powder as well.
The Powder Process
Step 1: Apply the bond polish all over your nails.
Step 2: Base Coat– For the first layer I went just above my cuticle because I didn’t want to get powder over my fingers. Then I repeated this process 2x more times, with extending to my cuticle, so a total of 3x. After each dip, I used a brush to sweep away excess powder. After the third dip, I used one more coat of the base coat and let it dry.
Step 3: After the final base coat dries, apply two coats of seal protect.
Step 4: More shaping and buffing. This electric nail drill is great because of the different attachments that allowed me to clean up my cuticles, and allowed me to remove any thick layers around my cuticle. This way when they grow out, they’re less likely to lift up. I used the larger attachment (you can use regular nail file) to buff the nail.
Step 5: Apply two coats of the top coat which dries almost instantly. I waited a minute or two before applying the second coat. I then applied cuticle oil and lotion to finish off my manicure.
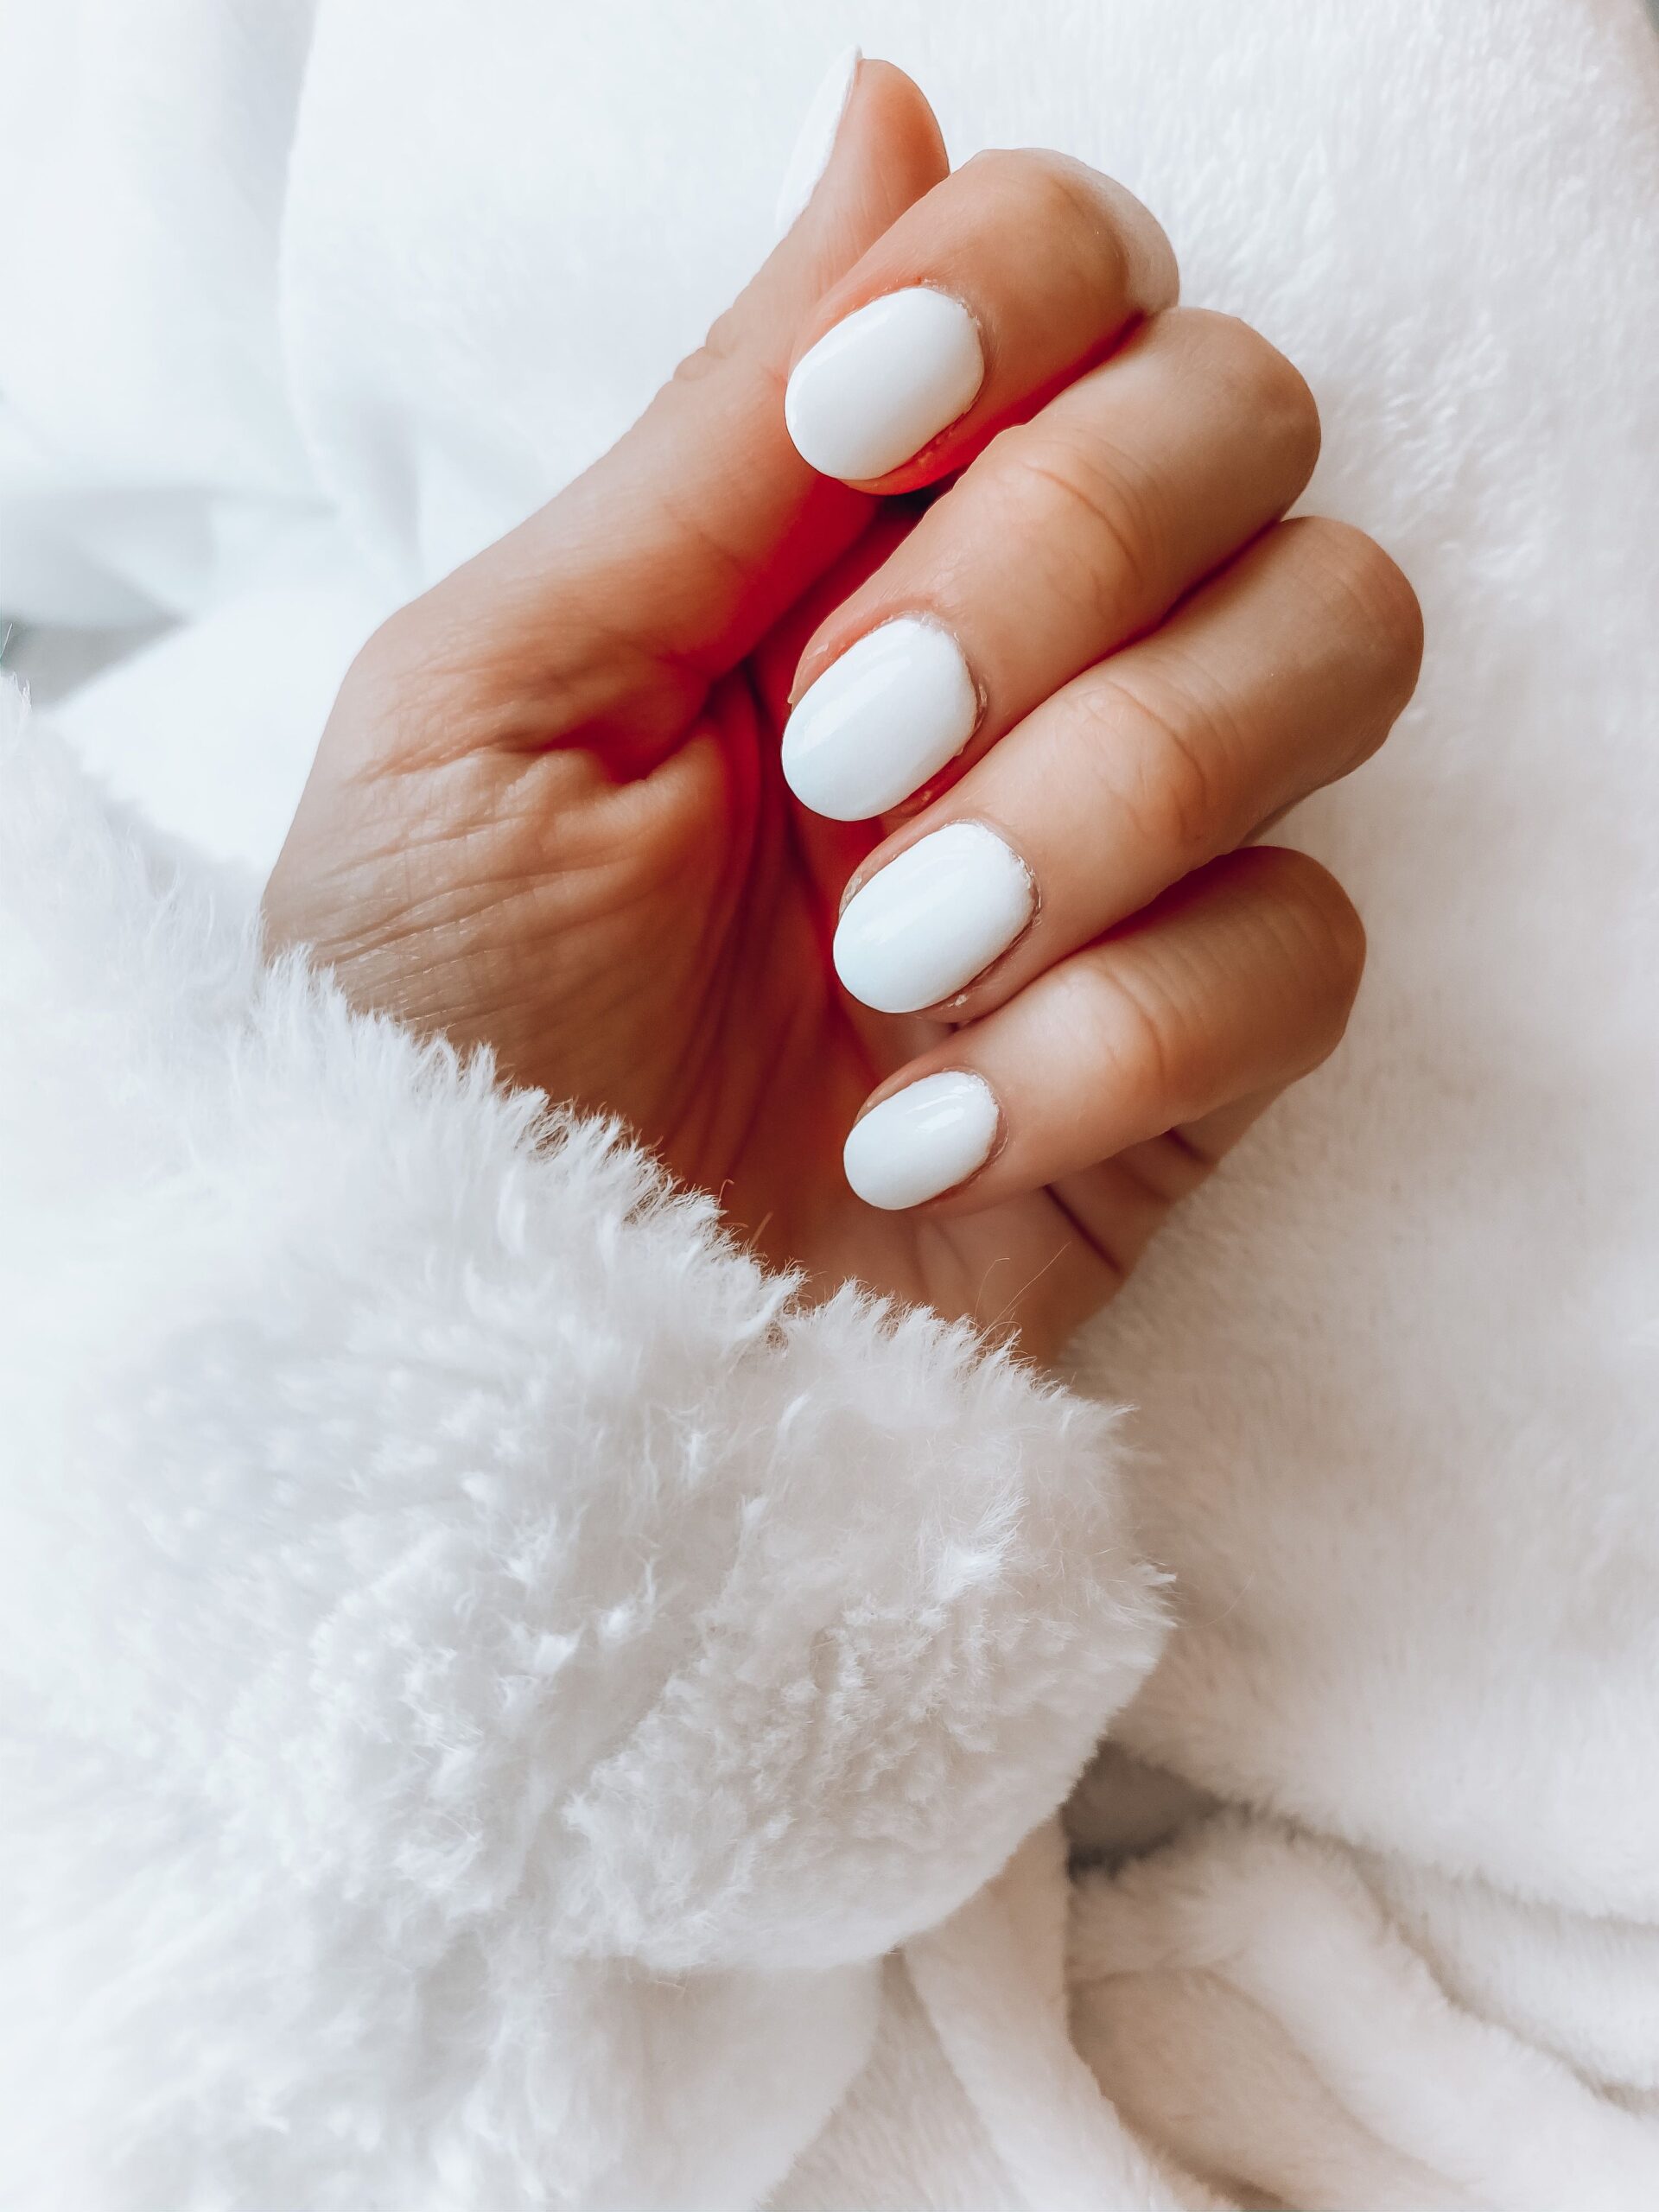
It was pretty easy and I think anyone could do it! Just a little patience and the right tools.
Tools
NAIL DRILL // POLISH REMOVER KIT // NAIL COATING SYSTEMS KIT
KIARA SKY KIT // KIARA SKY BOND
KIARA SKY BASE // KIARA SKY SEAL // KIARA SKY TOP COAT
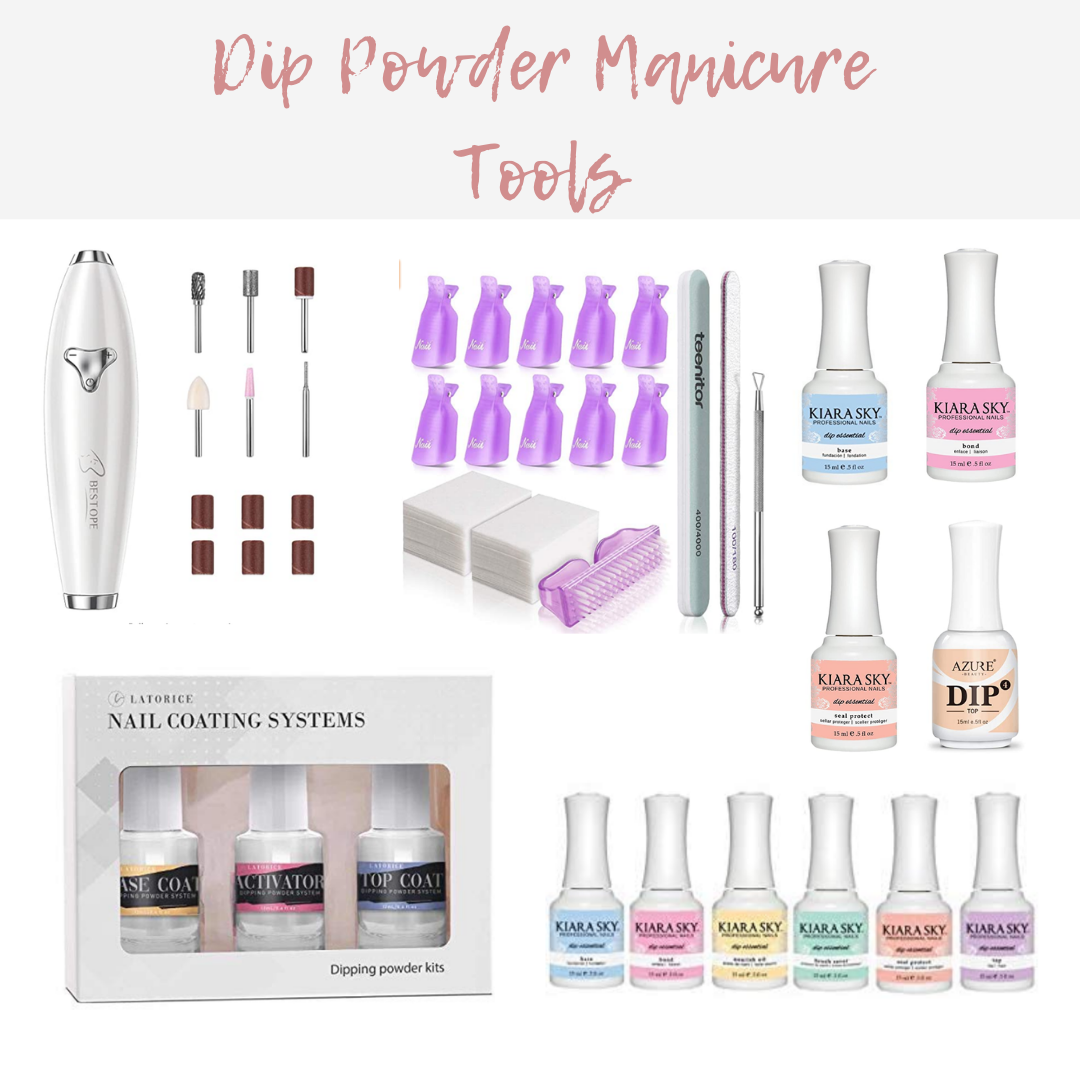
Powder Color Options


Thank you for visiting Blushing Rose Style! If you try an at home dip manicure, I’d love to hear how it went!